
-
- iTransfer Platinum Mac

- iPhone Transfer Platinum Mac
- iPad Mate Platinum Mac

- PodWorks Platinum Mac
- iPhone Ringtone Maker Mac
- iPhone Transfer Plus Mac
- iPad Mate for Mac
- PodWorks for Mac
- iPhone Contacts Transfer Mac
- DVD to Video for Mac
- DVD to MP4 Converter for Mac
- DVD to iPhone Converter for Mac
- Blu-ray to Video Converter for Mac
- DVD to iPad Converter for Mac
- DVD to Audio Converter for Mac
- DVD Creator for Mac
- Video Converter for Mac
- MP4 Converter for Mac
- 3D Movie Converter Mac
- Video Editor 2 for Mac
- Audio Converter Pro Mac
- YouTube Video Converter for Mac
- Download YouTube Video for Mac
- YouTube HD Video Downloader Mac
- YouTube to iTunes Converter Mac

- YouTube to iPhone Converter Mac
- HEVC/H.265 Converter for Mac
- iTransfer Platinum Mac
- More
How to burn Blu-ray discs from various videos?
This article will touch on how to burn Blu-ray discs from various videos. With ImTOO Blu-ray Creator Express, you can not only burn Blu-ray discs but also add effects. Follow the tutorial below to start burning your first Blu-ray disc.
Before you start, please download, install and launch ImTOO Blu-ray Creator Express.
This guide includes 4 parts:
Part 1: How to Add Video Files for Burning?
Part 2: Clip Video
Part 3: How to Enhance Your Movie with Music, Subtitle and Effects?
Part 4: Start Burning Blu-ray Disc
How to Add Video Files for Burning?
To add files, there are three ways to approach:
1. Directly drag and drop files into the ImTOO Blu-ray Creator Express window.
2. Click "File" and select "Add Video File(s)..." from the "File" menu to choose the videos you want to add.
3. Click on "Add Video File(s)" button from the main interface to choose the videos you want to add.

Tip: Select multiple files by pressing and holding the "Ctrl" key while selecting them.
Before you move to the next step you have a couple of options available:
a. Choose a BD Recorder - Click on the "Destination" bar or drop-down arrow to see available BD recorders and choose one.
b. Input the BD Title - The default name is My BD. For this a maximum 15 characters is permitted.
c. Configure Burning Settings - Select the writing speed, the number of burning copies and the target disc size (D5, D9, BD25, BD50).
d. Arrange the Order of Files - Right click on the file and select the "Move Up" or "Move Down" from the menu to move it. Or select the file, press and hold the mouse button, and then move it up or down.
Moreover, if you click on the "Setting..." you will see even more parameters. You can choose resolution, codec, resize method, frame rate, CPU core number, the temporary file location and so on.
We recommend you the default settings. Since most HD televisions are 1920 x 1080, it is the full high definition and the standard for today's TV. 29.97 is the rate of frames per second of playback, or simply frame rate. The vast majority of video in North America is shot at 29.97 frames/sec. The video format NTSC and PAL depends on the country you live in, for example North American countries use the NTSC format and the European countries use the PAL format. When you finish, click on OK.
If the source video file is too large or you don't want to burn some parts of it, you can click "Clip" button in the tool bar to open up the "Clip" window. Then set the start and the end point for the segment you want by dragging the slider. You can create multiple desired video clips.
How to Enhance Your Movie with Music, Subtitle and Effects?
Adding audio track, subtitle and effects are optional steps before the actual burning process.
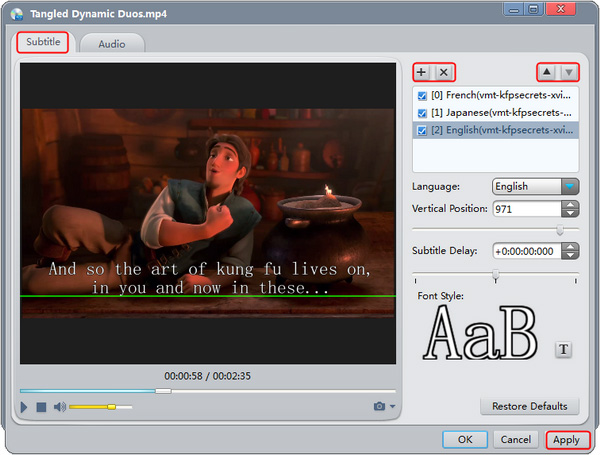
• Add Subtitle and Audio - Highlight your video file and click "Subtitle" or "Audio" button to open the dialog window. In the "Subtitle" dialog, click "Add Subtitle..." to select the subtitle file. You can specify the language, vertical position, subtitle delay and font style.
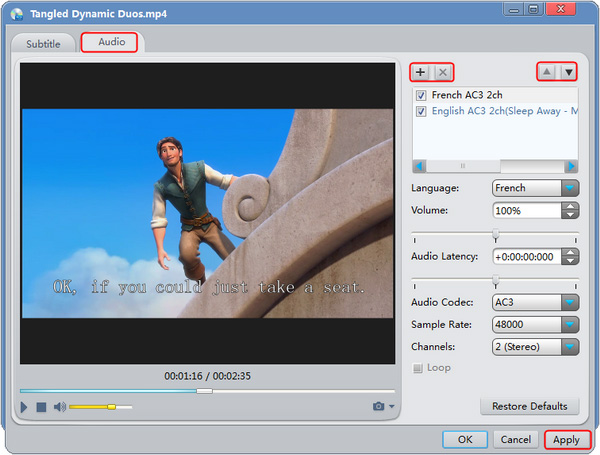
In the Audio dialog, click "Add Audio Track..." button to select the audio file. You can also specify language, volume, audio latency, codec, sample rate and channels to get the best results.
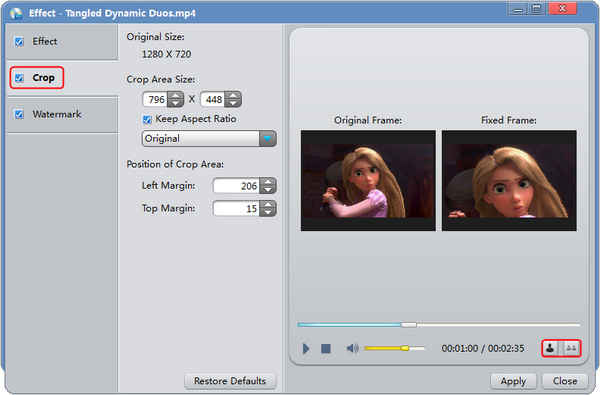
• Add Effects - Highlight the video file and click "Effect" button to open the dialog window. Check one or more artistic effects you want for your video.
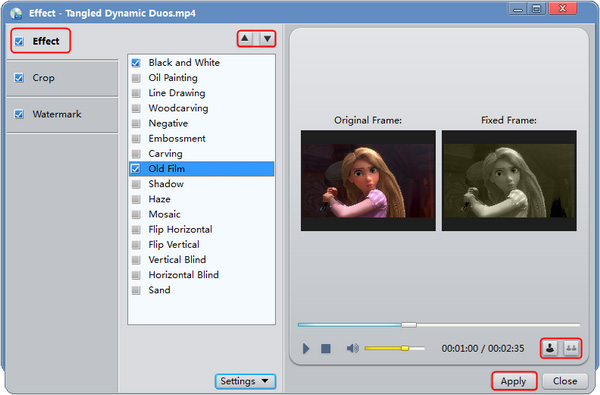
Tip: Click "Comparing Preview" button at the right corner to preview the source video and the fixed video with effects in real time.
• Crop Video Frame - Click "Crop" tab and specify the crop area size and position. Or hold your mouse button and drag the frame to get the desired frame size.
• Add Watermark - Click "Watermark" tab to switch to the dialog. Click "Add Text Watermark" and then input the text. Click "Add Picture Watermark" to select the picture you want. You can adjust transparency, position, font, color, font size and style. Click the text or picture watermark, hold your mouse button and drag the watermark to the position you want.

Please make sure you have selected all the video files you would like to burn.
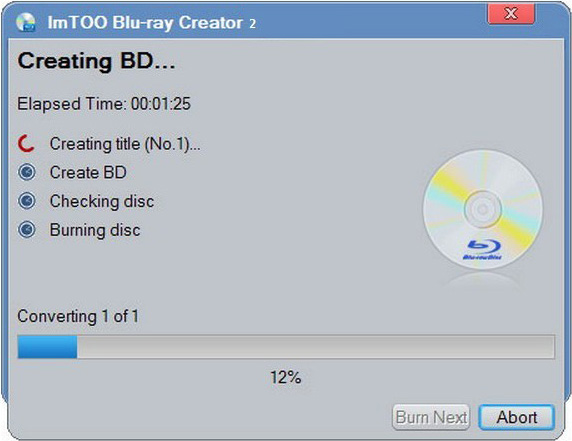
If all above is done, you can click the "Burn" button at the left side of the preview window. The burning process will automatically start according to the file list order.
Insert a blank of Blu-ray disc into the driver of PC while the message reminds you of inserting disc.
How long this Blu-ray burning process will take depends on the length of your source video file as well as the file size.
If you don't want to burn a Blu-ray disc, you can set the output as BD folder with the Blu-ray disc structure or BD ISO image for later burning.